Did you know that a wide range of products on Hoplix is customizable by customers? Yes, Hoplix offers this possibility: from personalized texts to images. In this tutorial we will show you how easy it is.
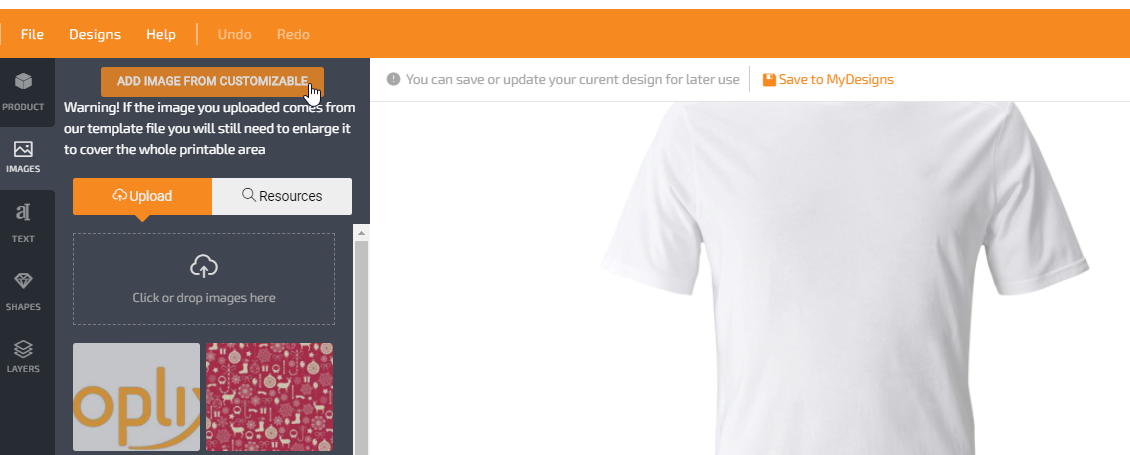
Start selecting the product to customize, in this case a t-shirt. Click on Images and then on the Add Image From Customizable button.
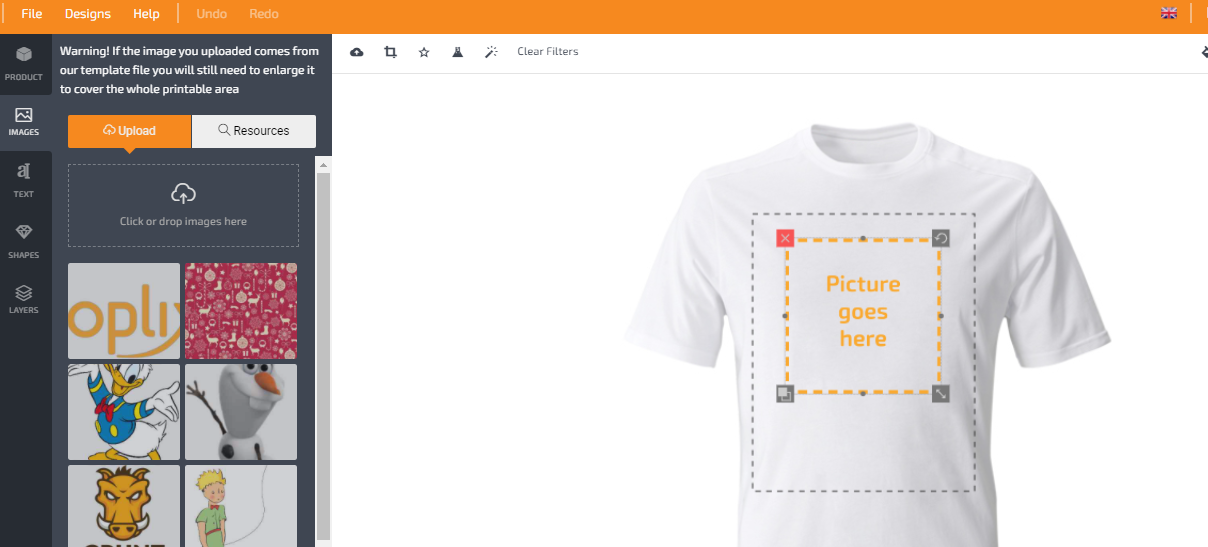
Once this is done, a dashed box indicating the future image positioning will appear on the t-shirt. You will be able to enlarge or reduce it and move it within the hatched area.
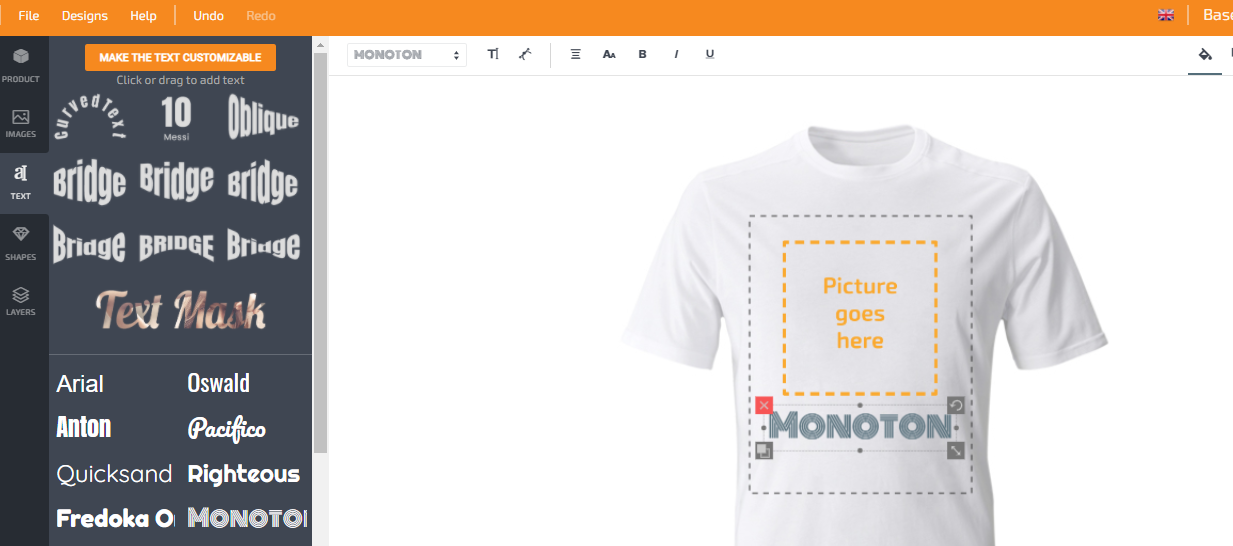
To insert a text box, click on Text. Choose from a large amount of fonts and click on your favorite one.
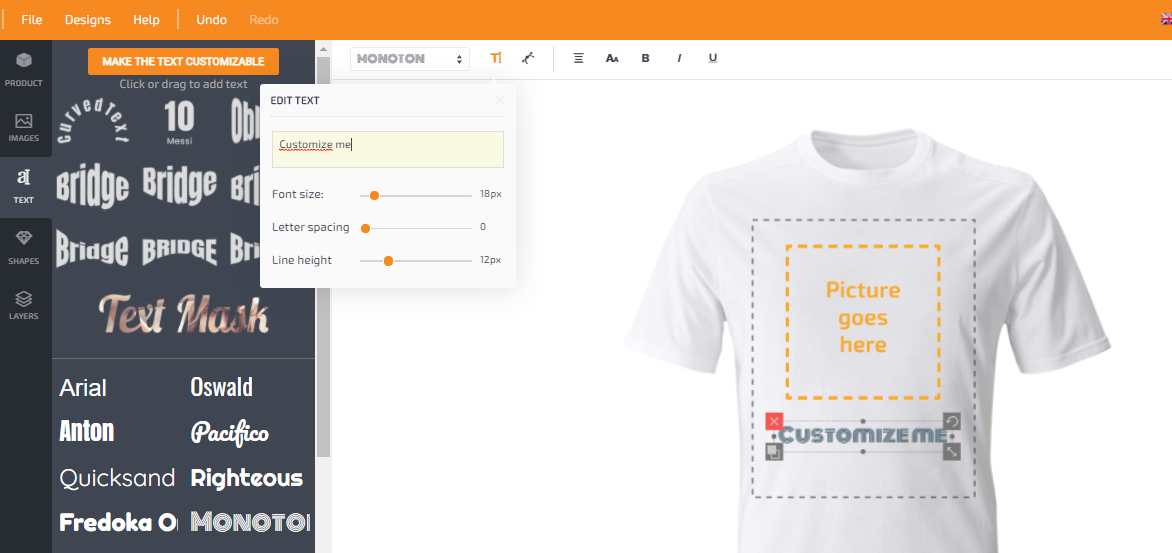
Once chosen, by clicking on the inserted text, you can change the content, font size, letter spacing and line height. Finally, click on Make the Text Customizable button.
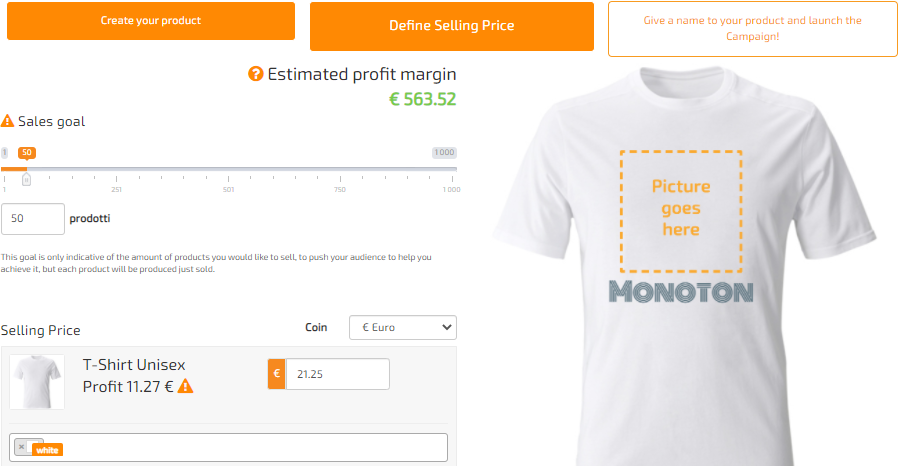
Continuing, you will define the objective and the selling price, the currency and the colors of the t-shirt.
You can set your campaign title, description, end date and the store in which sell it. Once the campaign is published, you’ll get a screen like this:
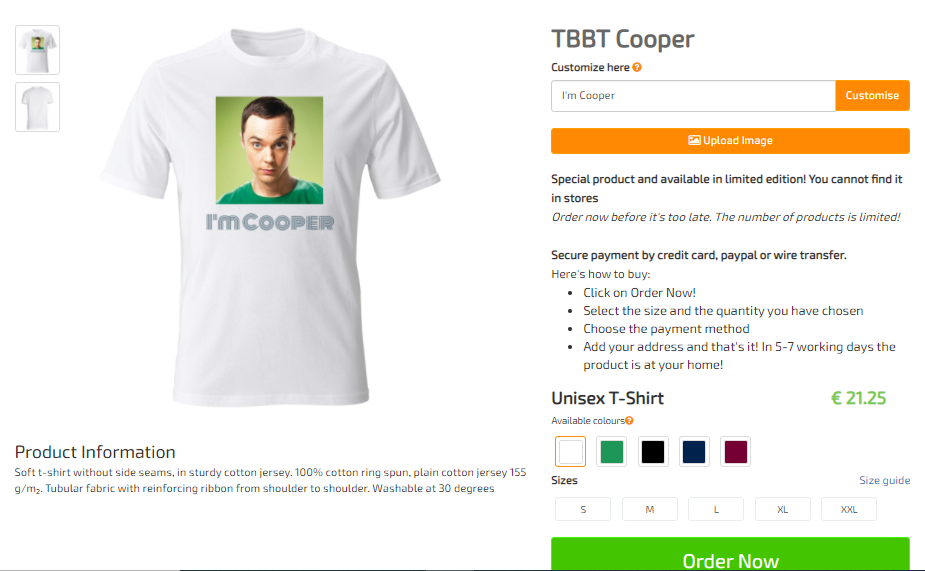
From here you can insert the personalized image by clicking on Upload Image: you can enlarge and resize it. Once this is done, just click on Add Image. Now, you can customize the text in the Customize box.
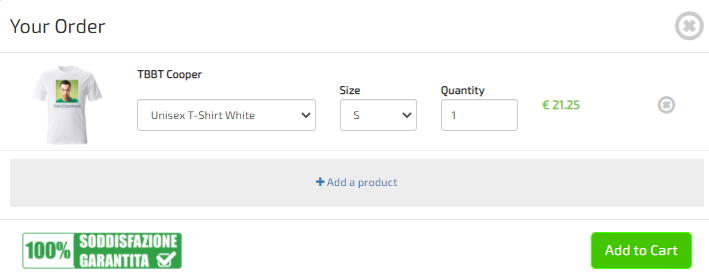
By clicking on Order Now, you can choose the color, size and number of t-shirts to buy in this screen.
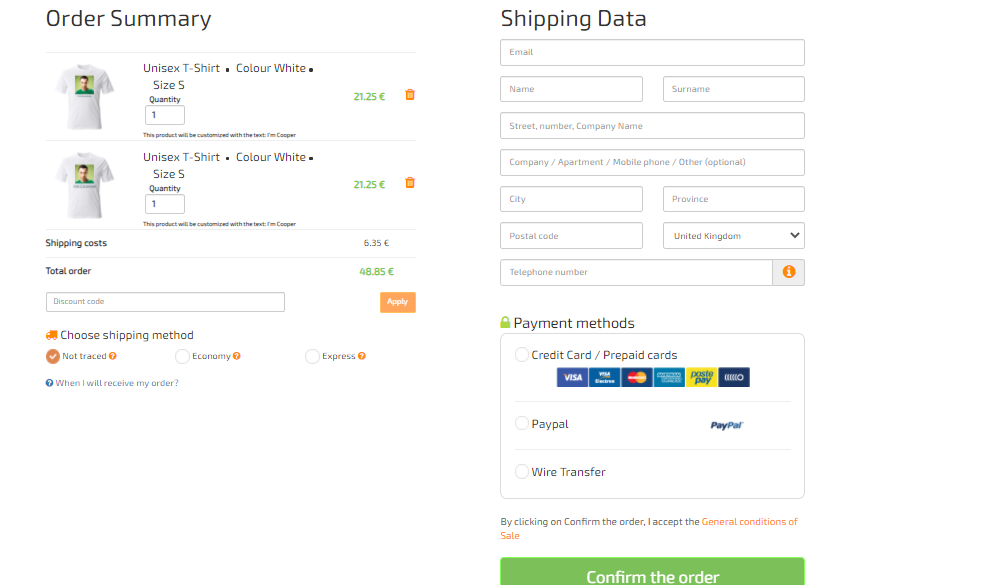
And here is the order summary. From here you can enter the shipment data, the chosen payment method, the shipment type and the discount code, if applicable.
Watch our video tutorial!