
![]() Did you ask for more integrations to connect your online shop to Hoplix? That’s it!
Did you ask for more integrations to connect your online shop to Hoplix? That’s it!
This is our new Hoplix, over 200 integrations between e-commerce CMS and Marketplace with Order Desk, such as Magento, Ebay, Etsy and Prestashop. If you want to see all the other integrations click here.
Order desk is a platform to automate and simplify your order workflow. If your workflow requires different actions to be applied to different types of orders, then the Order Desk rules engine will come in handy! You can do anything to any order based on any set of criteria you want. Order Desk has direct integrations with over 200 third party services including shopping carts, order fulfillment partners, CRM and more. Fully customised to your needs.
The strength of Order Desk is the rules engine and the (almost) infinite customisation!
You can split orders, you can automatically send orders for processing, basically you can customise almost anything with Order Desk.
But now let’s get started with a description of the basic steps to optimise your orders with Order Desk and Hoplix.
1.Go to Orderdesk.com ;
2. Log in or if you are not registered yet create an Account;
3. Once you have created your account you will find yourself in Manage integrations;
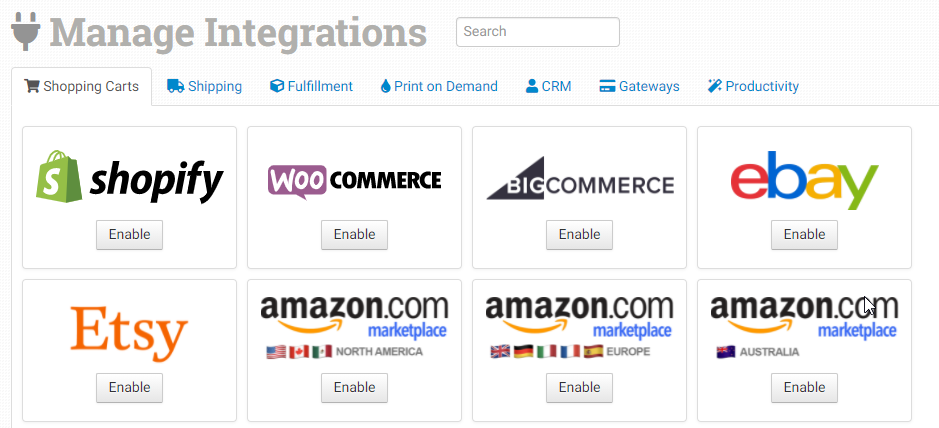
4. In Search inserted Hoplix;
5. Enter the API keys you obtained in the Settings of your Hoplix account then;
6. Go to Hoplix > My Account > Settings > API Key > copy Api Key and Secret key and enter them on Order Desk in their respective boxes;


7. Connect.
Now, after you have placed Hoplix on Order Desk, we will explain the main and simple steps you need to take to connect the CMS of your online shop to Hoplix via Order Desk.
8. First you need to create your Campaign/Product on Hoplix;
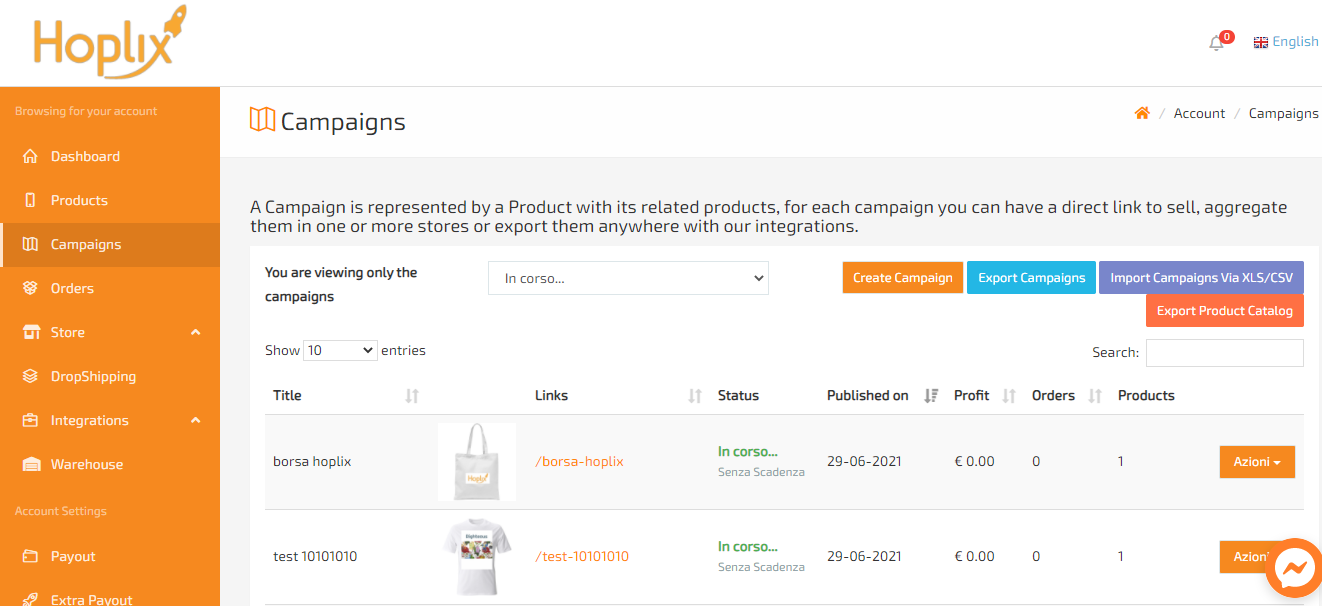
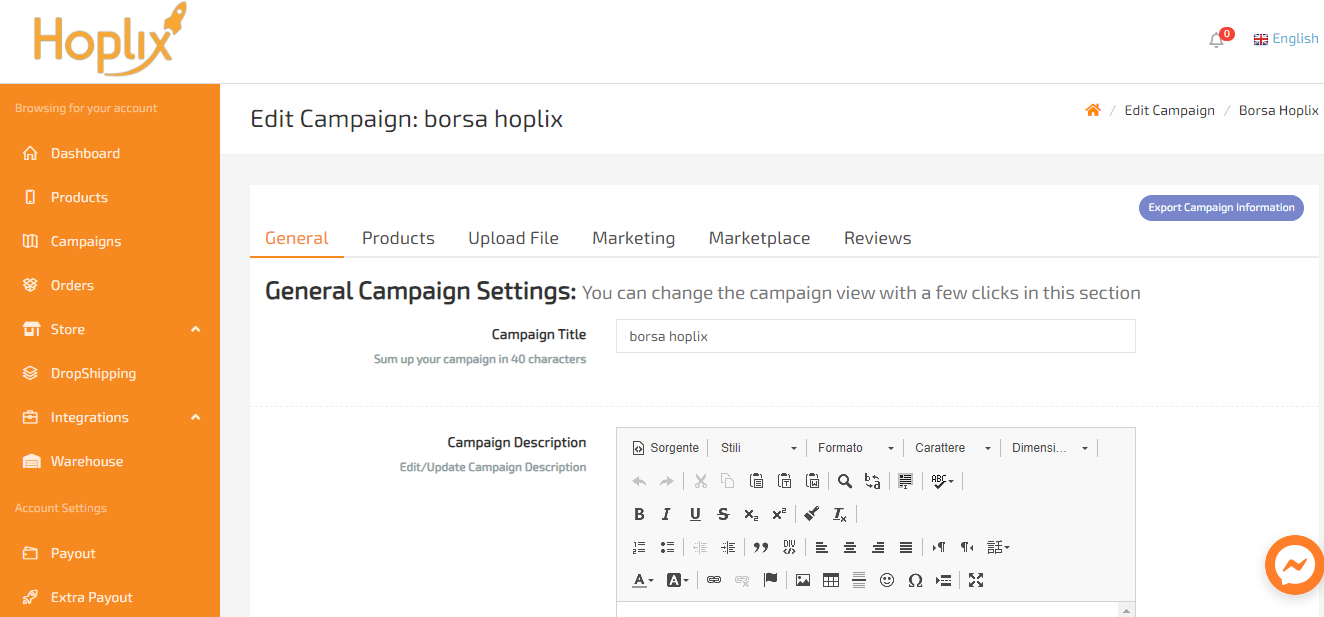
9. Once this is done download the Mockup and upload it to your CMS. To do this you will need to go to your Hoplix account. In the Campaigns section click on the “Actions” and “Edit” button in your campaign. In the Products section you will find the “Download Mockup” button below the product image;

10. Once this is done you will need to copy the campaign Id code and enter it in Order desk > Hoplix and then in View available products;
To get the campaign Id code on Hoplix, you need to go to My Account > Campaigns > choose the campaign you are interested in > go to “Actions” and “Edit” >In General and scroll down to find the campaign Id code;

Copy the campaign code and in order to get the product code from it now, you will have to perform a couple of steps that I will now explain.
11. Go to Order Desk > Hoplix and click on View Available Products;

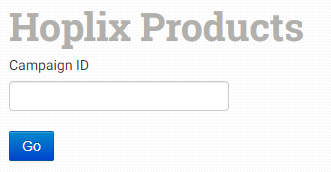
12. Enter the campaign code and go to Go;
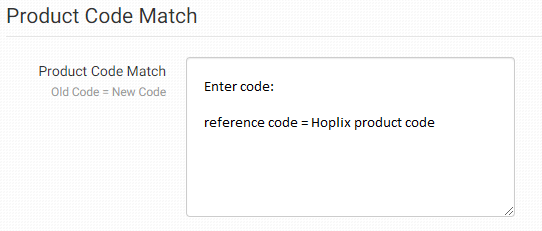
13. The campaign product with the corresponding code will appear;
14. At this point, you will need to copy the product code and insert it into your CMS;
15. A key thing to do now is to match reference code created by you on your CMS with the Hoplix product code;
16. Save everything and once this is done you will find the campaign linked from Hoplix to your CMS;
17. Now another step is to define your product data settings;
18. Last step is to create an order on your online shop via the CMS.
With Order Desk there are 3 payment plans you can join:
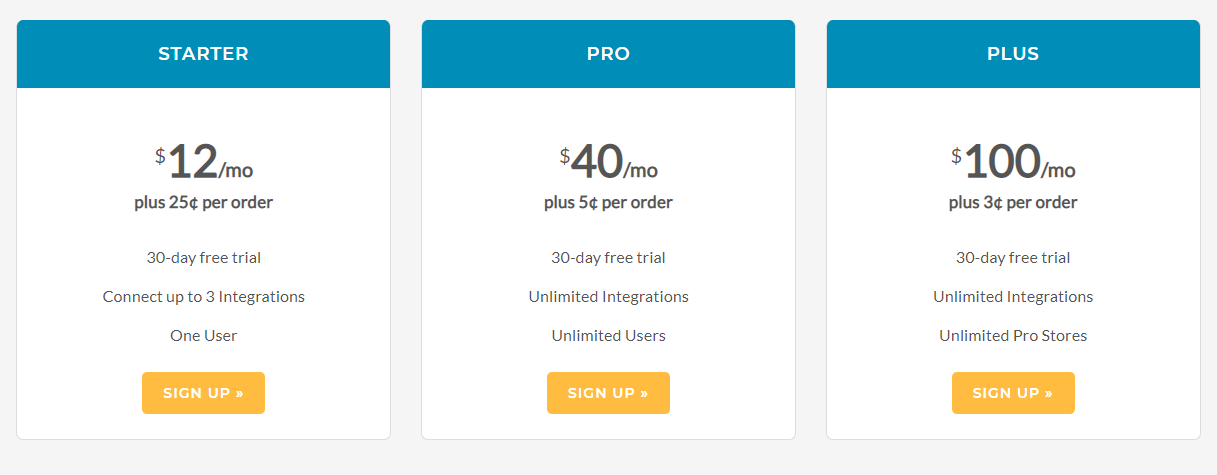
It is also possible with Order Desk to have a 30-day free trial. The full trial version waives our monthly subscription fee for 30 days. However, the order fee can only be calculated for the number of orders in Order Desk in the previous month, so this fee will always be retroactive, even for the trial period. Be aware that you will be responsible for all orders you create during the trial period. The trade-off is that when you leave Order Desk, your last month of orders will be free. If you reach the end of the trial period and need a little more time, you can send us a message and let us know.
What are the advantages of Order Desk?
1. API
2. Real-time updates
3. Report creation/analysis
4. Labelling
5. Shipping labels
6. Order processing
7. Order management
8. Returns management
9. Inventory management
10. Management of special orders
11. Multi-channel management
12. Data import/export
13. Order entry
14. Third-party integrations
15. Customisable templates
16. Order tracking
17. Inventory tracking
18. Recurring order
What about payments?
Payments can be made in the same way; either by credit card by entering your credentials on the Hoplix website.
If you select Credit Card as the Payment Method, the credit cards that can be used are:
– Visa
– Mastercard
– Maestro
– PostePay, PostePay Evolution
– Prepaid Credit Cards
If you select Paypal as your payment method, the credit cards you can use are:
– Aura Card
– Discover
– American Express
or by Bank Transfer and Direct Bank Transfer via Sofort.
In Wallet
you can upload your Wallet to Hoplix via Paypal and/or Credit Card and then automatically pay for all orders that are placed via the Dropship, API, Amazon, Shopify or other integrations, so perfect for Order Desk.
We remind you that in distance selling there is no obligation to issue an invoice. Any requests for invoicing must be completed before the order is processed by contacting Customer Service on the Hoplix contact page.